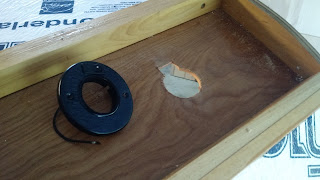
I cut the remainder of the light reinforcements on the jigsaw and mounted the two near the front of the teardrop. Here they are, just glued and clamped down:
The light fixtures will screw upward into these blocks, holding the entire mess together. I opted for more burly screws than the ones packages for this task.
I then added the insulation across the entire section, cutting to fit around the blocks. Here's a closeup and a wide view.
I knew those odd sections of leftover insulation would be useful. I stalled at the light reinforcements due to only having four small clamps (you can never have enough clamps) and moved on to some other miscellaneous work. I added two more coats of polyurethane to the underside of the "rear flap" of the cabin headliner that protrudes into the galley. Below, you see the galley perspective and the flap that will fold over the sliding cabinet area of the galley.
This area will feature two sliding doors, left to right, where food items, rather than screws, will store. For this build, I intend to build a shelf that will split the vertical difference, providing additional room for plenty of supplies.
There are a number of tasks to do next in the near future. Behold, this list:
- Install the rear interior light fixture reinforcements
- Install the insulation on the panel with the rear interior lights
- Finish the interior headliner with sanding and polyurethane
- Cut out the section of the headliner for the roof fan
- Install the galley 2x2 spar that will push the "flap" of the headliner down and thus seal the cabin
- Run wiring out of the front light fixtures and install the outside skin over the front curve and the fan section
- Or any other number of items in some other order
Of course, this is a lot of fun for me, and a great diversion. Until the next update, cheers.
[g]


