Showing posts with label travel. Show all posts

Wednesday, September 5, 2018

Huge Teardrop Wrap-up

The two weeks since the last post became a blur of activity. We decided to take the teardrop camping for the Labor Day weekend. We'd wrap up all remaining road-worthiness details and let the rubber hit the road. Typical work proceeded in the two weeks between, up until the final days and hours before embarking on the trip on Saturday the 1st for Raystown Lake in Pennsylvania.


The mythical Teardrop spotted at Raystown Lake

It was ultimately successful. The week prior to the trip, I began working on the taillight and side marker lighting. I had parts arriving from etrailer.com and still a general sense of calm at this point.


 Wiring tail lights mounted in the hatch door


Both tail lights wired up, but not tidy yet


The wiring for this teardrop build vs. a typical utility trailer is unique for the taillights. The three wires must run through the galley door and some portion of them continues on through the conduit in the left side of the galley sliding cabinet. I'll produce a wiring diagram in time.

I'd also discovered that the wire colors on these taillights (driver's side, passenger side) I used was backwards. The white ground wire was fine, but the green and black were flipped. Thanks much to etrailer.com customer service answering my question about that so quickly!

That's important, since I zapped more money towards them that week for another set of side marker lights. And then did that again for yet another set, but this time with red lenses for the rear lights. You need orange up front, red on the rear markers.

With the wiring mostly in place, what else could there be? Oh, so much more! Only when faced with a deadline do all the little details ferret their way out! Here's a list I produced with only one week to spare:


Teardrop to do 8/27/18


  • Bend door trim into place 
  • Check for weather gaps 
  • Install wheels? TBD
  • Final bolt check 
  • Tongue height check 
  • Fix blinkers 
  • Install rear markers and finish front ones 
  • Tie up and tape wiring 
  • Weatherstrip tongue box 
  • Tongue box latch 
  • fabricate bumper 
  • weatherstrip bottom of hatch 
  • install hatch side brackets


All of this, and whatever other prep was jammed in between, continued up until 1:30 AM Saturday of departure. Plenty of time to spare!


 The bumper in place, no trim yet


Hatch lower latch in place

A big chunk of time was finishing the wiring, with plenty of splicing, cutting and twisting. Another black hole of time was the bumper. For something that's just made out of a hunk of 2x4, my application required a lot of trimming and cutting such that it fit the weird angle of my metal frame at the back.

I had to nail down some weatherstrip issues and gaps here-and-there, and thankfully none of it was tested through the weekend. What looked like three days of scattered thunderstorms turned into three days of blazing heat and sun - and all because I took the time to work out the weatherstrip. You can thank me later!

We jammed the rest of the packing together early Saturday morning and we were off to the lake for what turned out to be a great weekend. I'll drop a few more photos below, but have a full set in my other blog. There are still plenty of things to tweak and add to the teardrop, so this is hardly the end. Like a lot of things, the teardrop is never "finished", I just had to hit a deadline for road-readiness.

-cheers

Tuesday, June 5, 2018

Tongue box and body paint

That sounds a little dirty. Such is life when teardrop building. My last update was more than a month, let's catch up. I began building the custom tongue box for the front end. I also finally began painting the exterior.


 Tongue box main frame, 3/4" plywood


Bottom of utility tongue box 


Side panels installed, 1/4" plywood for weight 


Utility box mocked up on frame


Black Rustoleum in matte for the utility box


And then begins the paint. I went with red polyurethane paint to loosely match my Tacoma. The specific make is Interlux Brightside marine paint in Fire Red, available here and elsewhere. Check the photos below for the first coat.


Topside, Tara observes the first finish 


The hatch door gets the roller 


Front of the teardrop, hatch and one door first coat


This paint went on nicely with a roller. It should provide great resistance to environmental elements, but it's not cheap. My source had it for $36.95 for a quart. I just ordered a second quart, as I've nearly finished the first quart on the front and top skin and the hatch and door you see above. I think I'll do fine with two coats, after sanding with 320 grit on the first coat.

The next round of activity will be just that, along with installing the roof vent/fan, painting the sides of the body and so on.

Monday, May 1, 2017

Floor Poly Done?

I'm back at it. I'm super busy with work. I'm tied down everywhere, trying to find any downtime to work the Teardrop. I mowed the lawn for the first time this year and got to work on some Teardrop building. Anything is progress... if you spend 30 minutes adding the last polyurethane coat to the cabin floor, that's still 30 minutes of progress. If you spend 45 minutes just ruminating about the next steps, that still a 45 minutes of progress. First. I have a workshop and garage photo from a rainy night on May 1st.


I added the 3rd and what I believe to be the final coat of polyurethane to the cabin floor. I'll add some quarter round trim next to finish it off and there is really very little left to do "inside". I think I'll shop for a 14 x 14" ceiling fan tonight. The wiring is there, as I've shown in one of my previous post. Here's the floor:


I have the next batch of EPS to coat the outside, so my next couple steps will involve applying the EPS to the outside skin, installing the trim on the cabin floor and getting a fan purchased.

-g

Tuesday, October 20, 2015

October Teardrop Progress

Ah, the crisp October air is rolling into the Northeast US and a busy two months of work and social stuff has calmed a bit. My last post was based on the galley drawers installation. Here, I have a batch of several activities recently.

I've completed a full three coats of satin polyurethane on the inside headliner. That was a prerequisite for the installation of the interior lights. Below I have a few shots of the headliner with the lights installed. These are adjustable angle lights with incandescent bulbs. There are replacement LED bulbs that will fit this application, however.


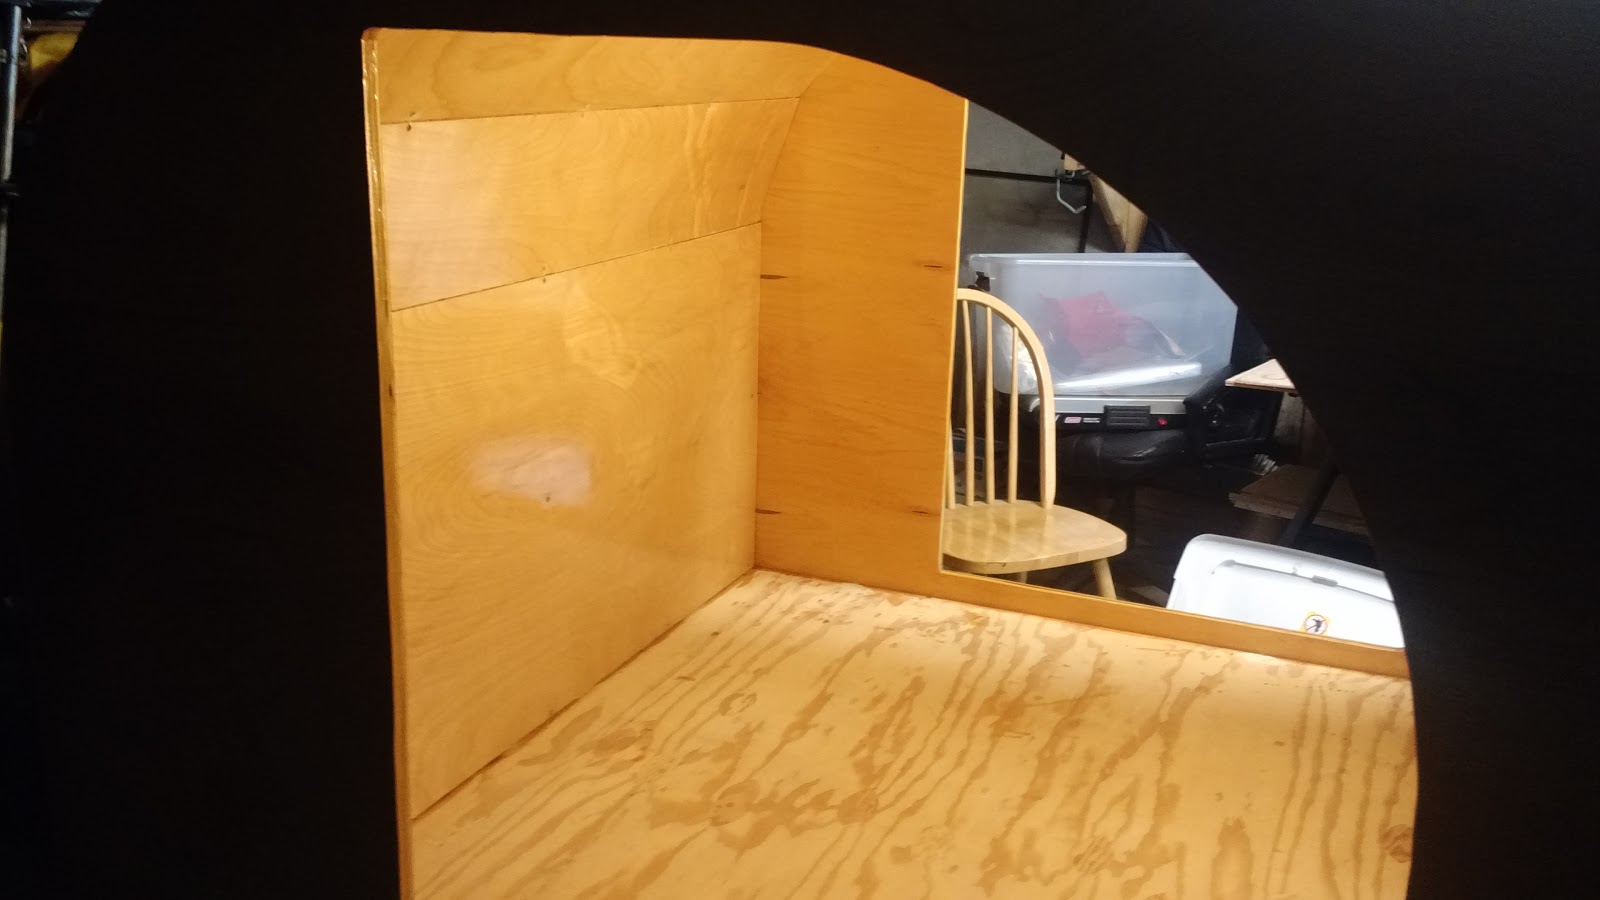
The satin polyurethane will cut down on some of the reflective quality in the cabin. In a small enclosure, too much reflection can be a little much. I've also removed the square section of the headliner that will accommodate the fan/vent. Here is a photo of that below.


The next chunk of activity centered around wiring the front interior lights. These are foremost, as I can then install the outside portion of the skin that stretches from the front of the teardrop to the rear of the fan opening after the wiring has been extended more towards the rear of the teardrop. Below, you can see the wiring as I'm running it towards the rear, traveling through the spars.


To continue the grab-bag of work, I've also cut the 2x2" spar that lives at the back of the headliner at the top of the galley. Note the photo below, and I'll describe some considerations with this.


The 2x2" spar fits flush with the top of the wall outline at the corner of the cutout for the eventual hatch door. On either side I had to remove some material so it would rest on top of the cabinet face and flush with the outline. I just used some jigsaw work to do this. Also note that I'd placed a brace between the top of the spar and the garage ceiling, as the headliner has enough torque to bow the spar upwards until it's been conditioned a bit.

Finally, I've drilled the hole for the wiring conduit through the bottom of the shelf area of the galley. I'l run a piece of conduit down from the headliner through this opening, which leads to the wiring raceway inside the cabin. This will carry the wiring from the interior lights and fan to the raceway, which is the electrical motherbrain of the teardrop. Below you'll see the hole that is nearly a few inches thick due to traveling through two hunks of 3/4" plywood.


I'm pretty much ready to grab that next piece of plywood for the outside skin. I need to test the front interior lights first before I seal that portion in, of course. As always, there is much more to do. As winter approaches, sunlight dwindles and the garage kerosene heater warms up, however, there will be more time to work.

[g]

Saturday, September 5, 2015

Friday Night is Teardrop Night

There are quite a few ways to blow off steam after another long week, and one of them is having a few beers and building more Teardrop II! While I used to spend Fridays in a bar drinking the draft deal, I'm now more often in the garage building stuff. So I'll kick off my shoes, prop up my feet on the galley and update the FNtTD blog.

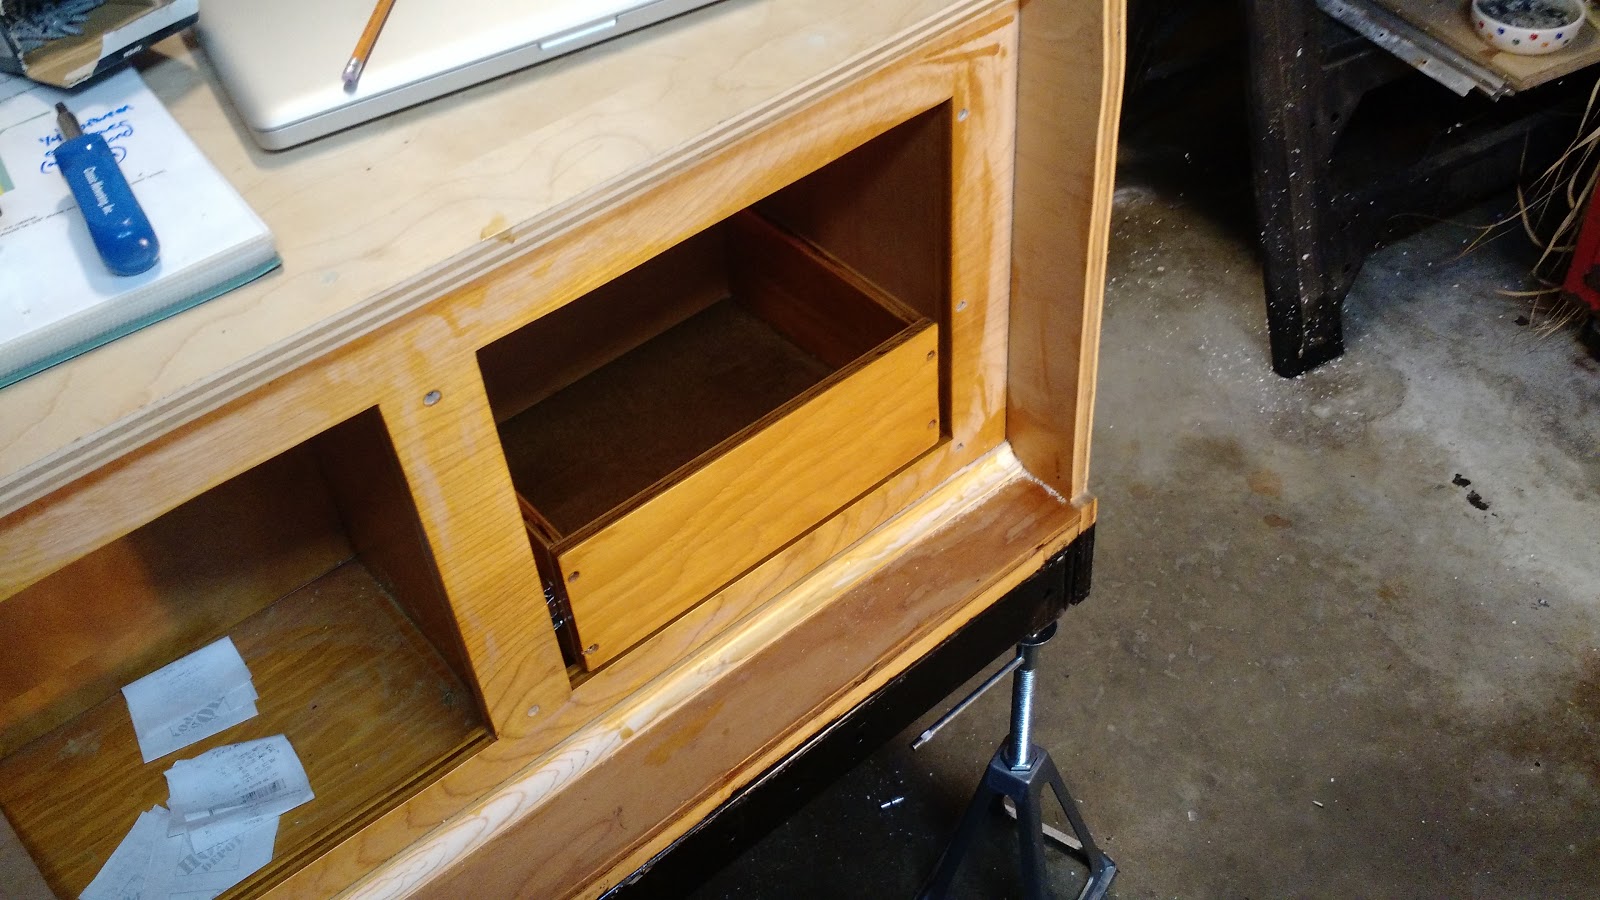
The update tonight involves finishing the galley drawers. At least functionally. I still have to build the drawer faces with some birch for aesthetics. Below is the lowest, and biggest drawer completed.


I calculated that there was a 1/4 inch between the drawers and the top and bottom. I used a scrap piece of plywood to space the drawers and mount the hardware, seen below.


Due to the marvels of modern technology, we fast-forward to the completed drawer installation. It all lines up wonderfully, but that's not for a lack of careful measurement. Below is the showcase, sans the drawer faces, of course.


I'll let the drawers sit for now. I'm thinking one more coat of polyurethane in the cabin, and then move to install the fore cabin lights, wiring and drill the holes through the spars for the harness back towards the rear. That would set me up for the next outer skin section, along the most precipitous bend of the teardrop.

Before that I'll have to cut the fan opening in the interior skin. That's some crude jigsaw work. This is it for now, it may be until next work week before I get around to building more.

[g]

Thursday, September 3, 2015

Teardrop Insulation, Drawers and Reinforcement

The clock has struck September, and I feel like I want to get things moving faster. The drawer slides came in from Amazon and I had some building to do there as well as more insulation and interior polyurethane. I was also able to start working on the galley drawers with the new slides in hand.

The reinforcement idea refers to the middle floor reinforcement stud, constructed from a 2x4 coated in roofing tar. It has cutouts top and bottom to align with the bottom of the floor and and clearance for the metal trailer frame as well as cutouts for the bottom lip of the frame. It essentially jams into the sideways U profile of the frame. Here's a photo below.


It's hard to see, but it's the black bar that's closest to the camera. Other portions of the floor are supported by the remaining metal rails, but the middle section has a fairly large gap that needs this reinforcement.

Other recent activity was completing the insulation around the aft interior light mounts. Below, there is a photo of the pieced-together insulation section.


The drawer slides arrived quickly this time from Amazon. They are decidedly Chinese in origin:


I've also laid down two coats of satin polyurethane on the interior headliner. I chose satin for the fact that it's less reflective than semi or full gloss polyurethane. Here are two photos below of the results.


The drawer slides are easily attached, while considering the alignment in the tiny space allocated in the Benroy. These are 9 inch slides, seen below on the largest of the drawers.


The mounting width is 13 1/2 inches in the design, so you have to build a spacer on the left and right side. Fortunately, my build evolved such that I could use a 1x2 inch stud on the left side. The right side required several inches of spacer, so I went with installing a 3/4 inch section of plywood to fill out the width. Photos of this build are below.


The plywood section on the right above is glued and screwed into the galley cabinet face and from the bulkhead from the cabin.

Teardrop work only comes in short bursts. A few hours at uneven intervals, so I have to move from subproject to subproject while poly is drying, for instance. I'm almost done mounting the slides to the drawers, and then I'll install them within the drawer area. I want to cut the ceiling fan opening soon, but I will verify that I'm using the same fan assembly first. The sizing is fairly standard, in any case.

The interior lights will get wired soon too. At least the front set, as I can then lay the next section of the outside skin, that would otherwise obscure the mount locations for the front lights.

I'd love to take a trip in late October with this camper, but I don't know if I'll make the build in that time. I'm going to shoot for that date anyway, because deadlines really do make you move.

Until next time, cheers. I'm going to finish my beer and call it a night.

[g]

Monday, December 8, 2014

Lighting Choices

Imagine yourself enclosed in a space that measures 5 x 8 feet around and 4 feet high. It sounds slightly inhospitable, but this is what you're working with inside the Generic Benroy camper. When put that way, confinement seems cozy. This means that lighting is all the more important.

I had used swiveling aircraft-style reading lights in my previous build. This light below is very similar, if not identical. I placed one of these near each corner in the headliner near the cabinets and two more near the front in the headliner.


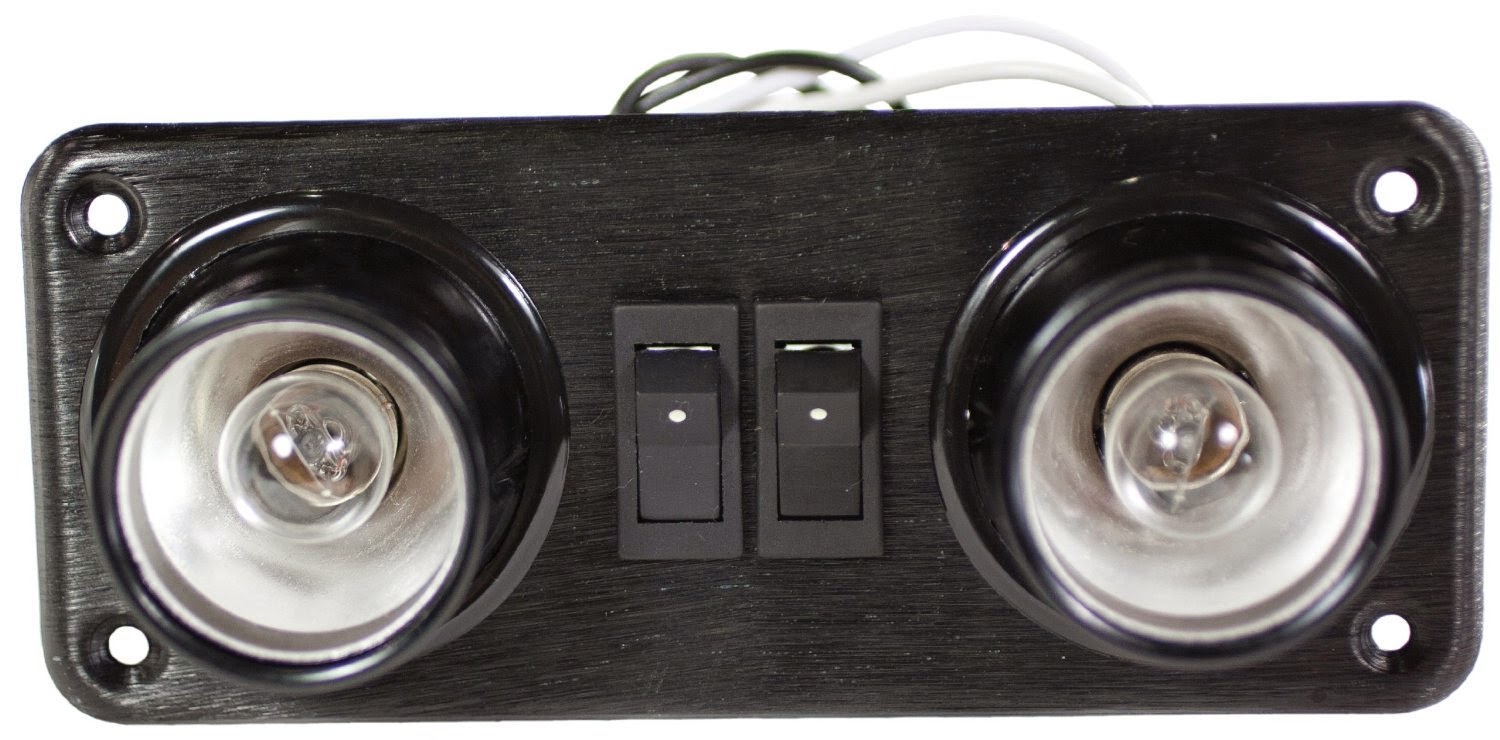
 I'm also considering this light style and installing two, rather than four, lights. Here's a photo below from Amazon:


I'll have to think about this one. The latter lighting unit would decrease wiring and installation by half, as I would install them in the ceiling near the front and rear of the cabin, down the center. I'd prefer LEDs here, but perhaps I could convert them somehow.

And in an unrelated note, I've put the second coat of polyurethane on the topside of the headliner this evening. That's ready for carving the cutouts for the vent/fan and whatever lights I finally choose. That gives me a deadline.

[g]


Teardrop II Build: Headlinder Protection

I need to get a quick update in as the holidays fly by and suck up all the time. I've finished the headliner and have also applied a coat of polyurethane on the top surface. Yes, this area will be the inner surface of a sandwich involving polystyrene insulation and the outer skin, but you still want to get some kind of moisture protection on it.

Below, the sectional front curve is in place. It may not be a smooth single arc, but it's pretty in its own right.


The outside of the front headliner section, below. The double spars help secure this more easily and effectively.


Below, this topside of the headliner with the polyurethane applied.


The next step is another coat of polyurethane on the top and front outside of the headliner. It's not fun, but it'll do nothing but help in durability. Once that is done I'll work on cutouts for the fans and lighting prior to laying down the polystyrene insulation.

Here's to cold December nights working in the garage warming my hands on near the kerosene heater!

[g]


Tuesday, July 30, 2013

And Just Like That

Due to some form of TV magic and real-life time travel, we warp ahead to a finished Teardrop. The Internet makes this even easier: you can be a time-travelling space lord know-it-all, and just find yourself with a fully baked turkey within 20 minutes of airtime (excluding commercials).


Eastern Colorado, amidst tornado warnings 

Road attire was fairly casual

Tara contemplate the galley

On a reservoir in Eastern Colorado


The last post in the FNtTD blog was regarding work on the hatch, and then things got real crazy. Time melted like gummy worms on the dashboard, and I'd even resorted to driving screws into a makeshift utility box the day of my wedding. While wearing my tux pants.

From that point forward, the progress of the Teardrop was rolling progress, as in rolling to the West Coast and back, and my accompanying travel blog, High-beam Eyes, documents that.

Thusly, updates disappeared from the face of the earth on FNtTD. We're onto a new day, however, and new things are in the pipeline. There is a new Teardrop build, Teardrop II, that had arisen from some difficult circumstances with the first TD. FNtTD will document this new build, but it will certainly be just as brisk and scant of details as the first build.

It's a weird world, and all you can do is try to see more of this snow globe.

[g]

Sunday, May 17, 2009

This thing is About to Hatch

A week has gone by without an update, and things are coming together. I've finished the hatch frame and skinned the outside, and we've even tested a paint selection on the outer skin today. Tara did some sanding, and I coated the entire roof with CPES (remember that Rot Doctor stuff), which will provide superior water resilience underneath the paint. Let's get to the photos for a bit.


The completed hatch door frame


In the bottom left and right corners in the photo above, you see some extra framing for the taillights that I have on hand. I'll install those once the hatch is done.


The outer skin installed on the hatch

The outer skin of the hatch, like the rest of the roof, is made of 5.2mm red oak plywood. The bend here went smoothly with my batch of clamps and 2x4s placed horizontally.


So, this is what it's going to look like when it's attached

We've revisited the interior again while other stuff was drying or setting up, and I'd hung the two cabinet doors.


Cabinet doors installed

I also had a number of parts come in last week, including door handles and latches for the two side doors and the hatch door and the "hurricane" hinge for the hatch door. All the aforementioned were from Li'l Bear (http://www.lilbear.teardrops.net/index.html), an excellent source for teardrop parts and a great place to deal with. Below, the hatch is temporarily installed with the hurricane hinge.


Hatch installed temporarily with the "hurricane" hinge

The hinge worked flawlessly. There were several iterations of installing and removing in order to trim the bottom edge of the hatch for clearance for weatherstripping. The hinge itself is a marvel of design that brings the pivot point up above the surface of the wood, forcing water to run off along the sides of the roof instead of into the hinge area. I recommend it.

The final photo below for this post is one of the newly ordered fenders mocked up. These will be somewhat temporary, as I'd like to get larger and wider wheels and tires for trailer when I've finally recovered from buying everything else for this thing.


There's even more that's been completed, but I don't have photos yet, so that'll be next time. Like I'd said earlier, we've tested some paint for aesthetics, so that'll be part of the next update.

[g]

Sunday, April 12, 2009

Skeletal Teardrop

Now that I've fixed all the images I've broken on the blog, I can finally get some of the new progress reported. Since the last "update" post in March, a month has passed. Last time I had photos of the walls mocked up on the trailer base. Since then, I've cut and assembled the cabinet unit and have permanently attached that to the walls, which are, in turn, permanently attached to the floor. It was a splendid occasion, as it was a nice milestone in the build, and also that the day didn't end in me setting fire to a heaping mess of crooked lumber and driving to the liquor store with the inferno in my rear-view mirror. I think it could've been that bad, yes. Here're the photos.


Yes, the walls are off again. Rear section of the cabinets and a face of the cabinet laying down.


Closer look at the galley counter and cabinet space section


Cabinet sections coming together: looking at the galley side


Cabinet assembly nearly together: looking at the cabin side


Cabinet assembly mocked up and propped up - cabin view


Cabinet assembly mocked up - galley view


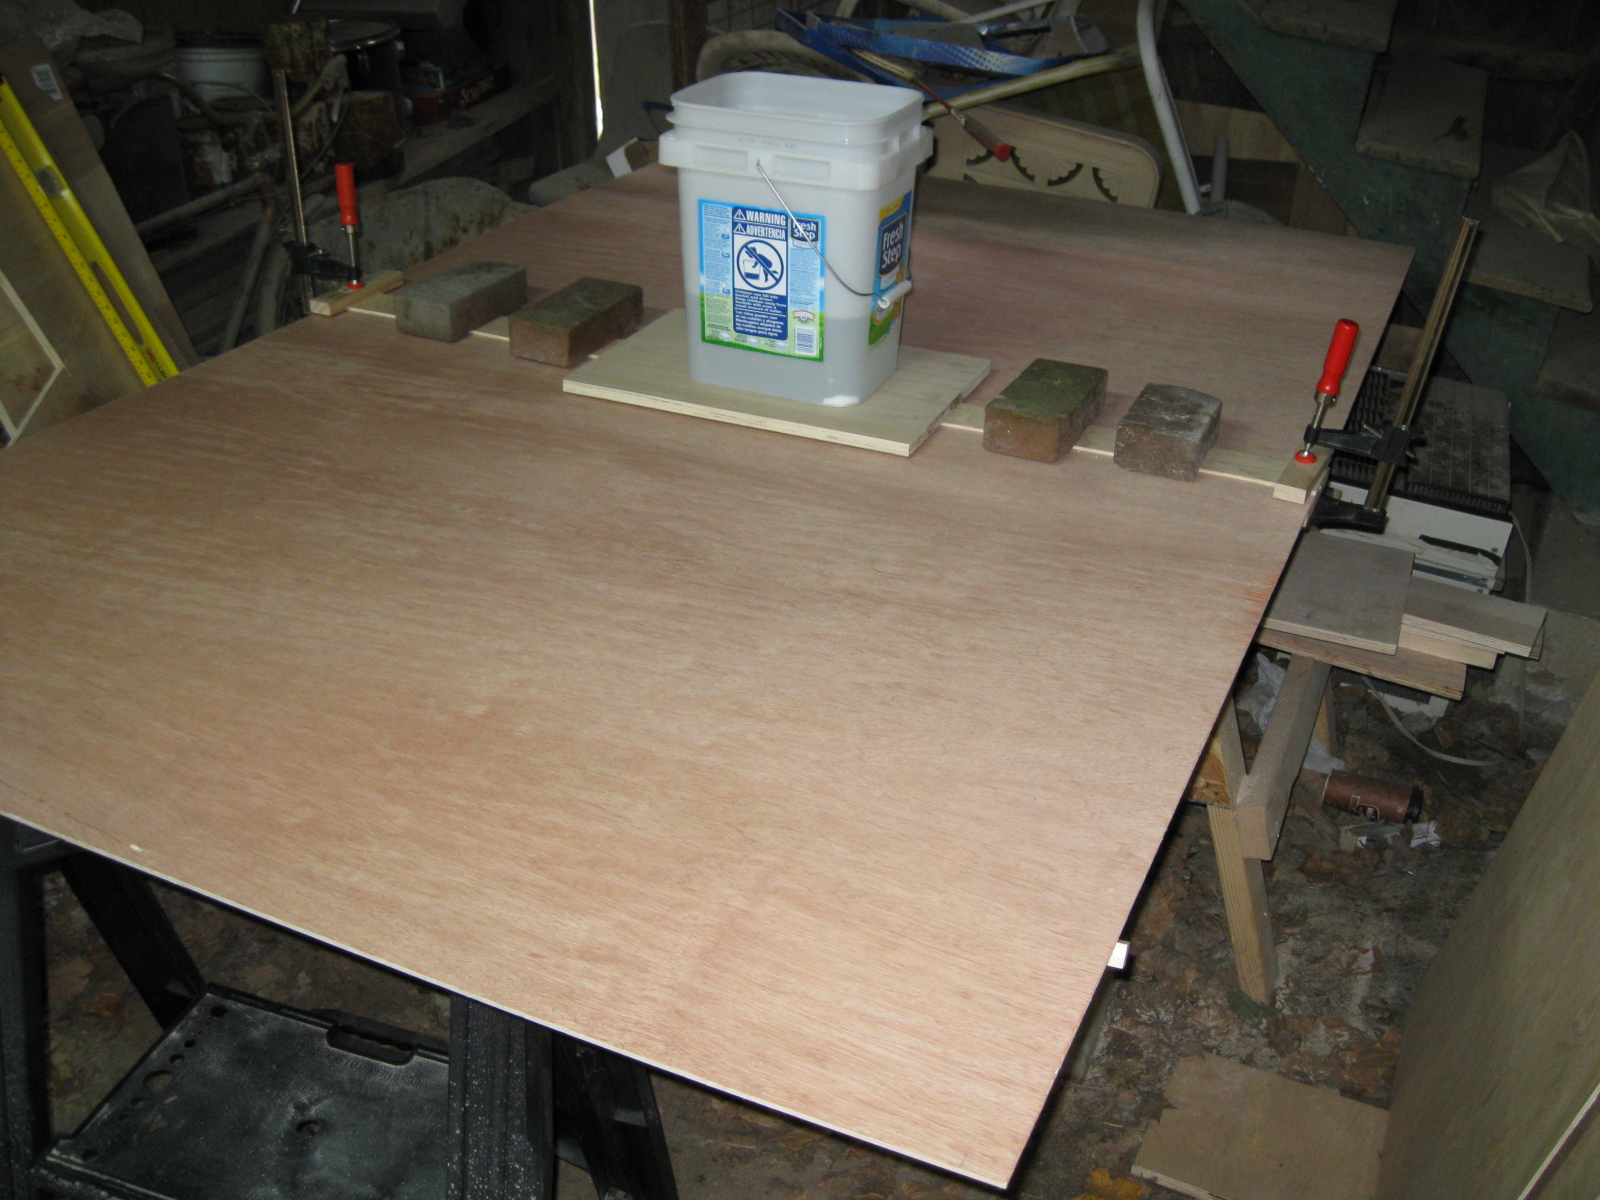
Finally, here's the cabinet assembly completely installed with the walls permanently attached. Also, the spars that provide the inner and outer skins are installed. Below that, we have the partial inner skin or headliner drying. It's assembled from three pieces of plywood for a total dimension of about 58 by 109 inches. One of the joints is drying with the help of some heavy objects.


Next up: finishing the headliner and installing that, then onto wiring perhaps and a million other things.

[g]