Prior to that, however, I finished the insulation above the galley section of the headliner. I had spare chunks hanging around, so I pieced them together to fill out that section. Below are a few photos of that progress.
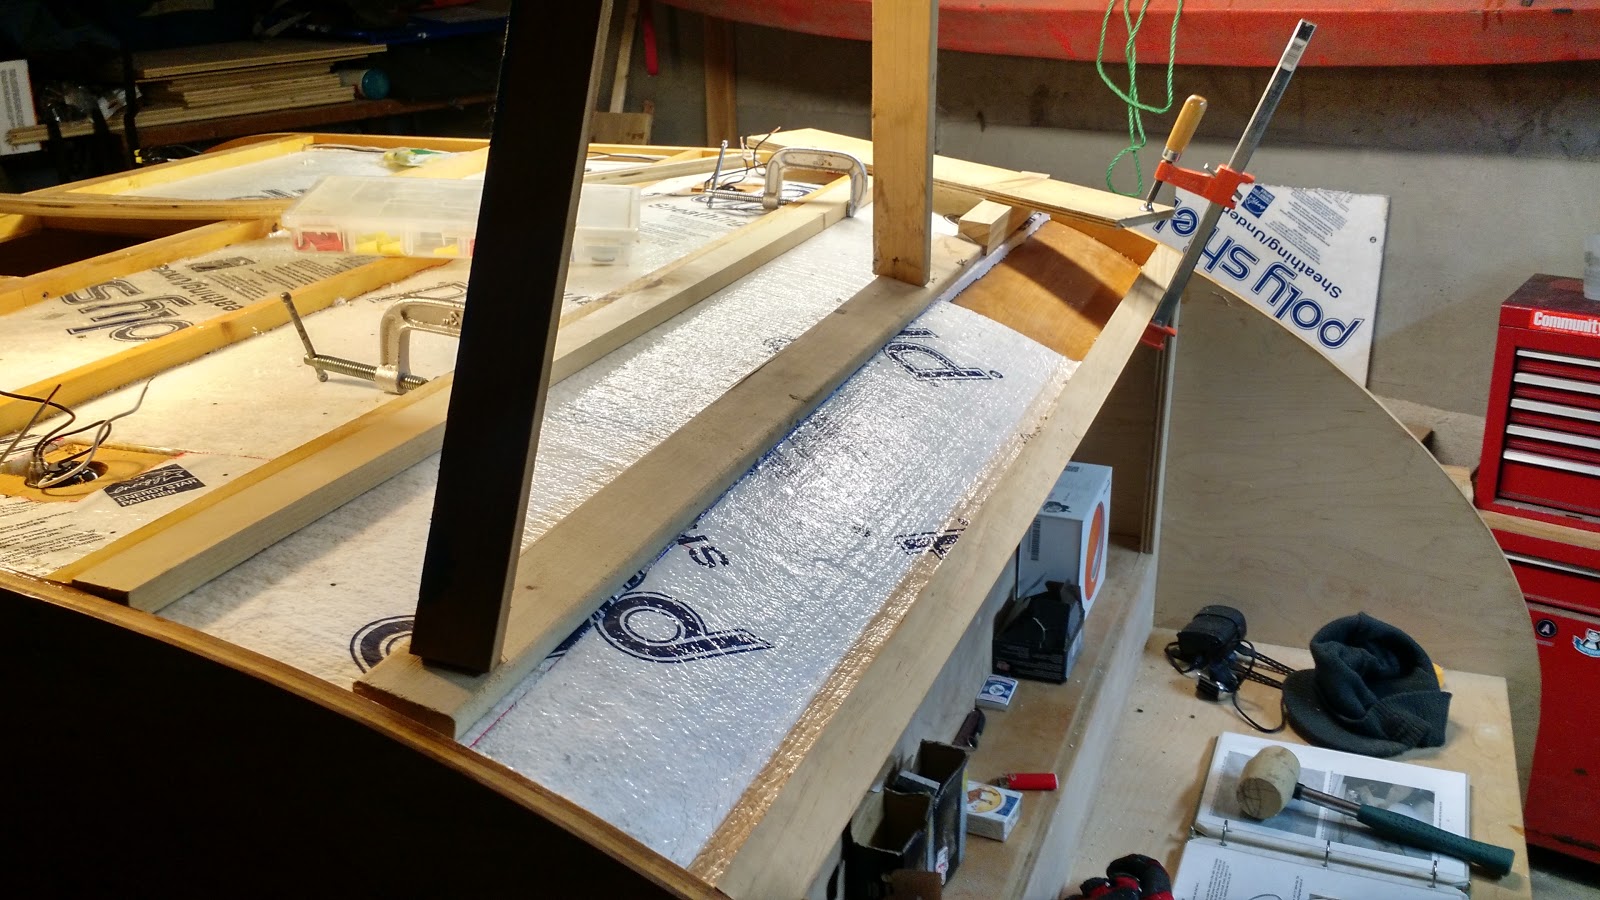

I placed a brace across the center and jammed it against the garage ceiling to keep the insulation down, as it's on a curve and there's a seam across the center span.
The next task was to cut the section of plywood to fit the front curve of the outside of the teardrop to stretch from the previously installed skin to the center of the back of the "fan mount" double spar on the top. I'll get to that later. Here are a few photos of the section that has had Rot Doctor EPS applied on the underside and the initial fitment to the front of the teardrop.


I'm going to let that front seam set overnight, or at least until I get back to work, so the glue can dry nicely. However, I've already started training the curve of the wood with a cargo strap, seen below. It's just enough to start to pull the curve back.

That seam on the front is problematic, it will want to pop outwards due to the torque applied by the entire bend. Let's let it rest for a bit. Now, for the measurement to the length, front to back, of the section, see the photo below. I want it to rest directly at the seam between the two glued-together spars that sit at the rear of the fan cutout. That's at about the center of the photo.

You then have something for the outer skin to bite on for both this section of headliner (to the left of the photo) and the section that will follow to the right.
That's it for the past week. I determined that my deep cycle battery is dead, so I have to snag something to test the front cabin lighting before sealing it up with the outer skin section, and then I can glue and screw this thing down.
Here's to more work days in the garage with decent temps,
cheers!
[g]