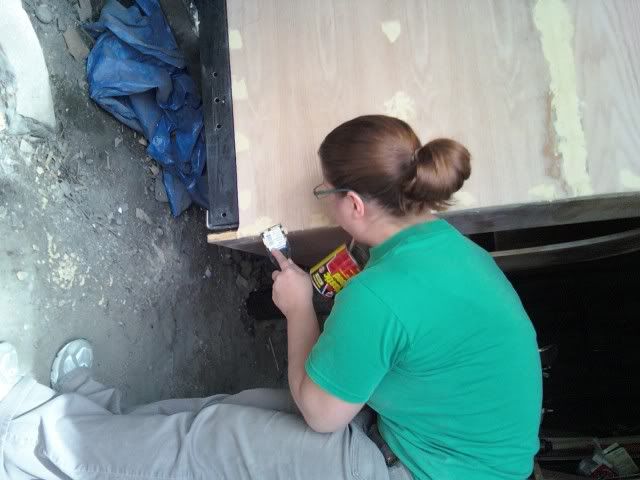
A week has gone by without an update, and things are coming together. I've finished the hatch frame and skinned the outside, and we've even tested a paint selection on the outer skin today. Tara did some sanding, and I coated the entire roof with CPES (remember that Rot Doctor stuff), which will provide superior water resilience underneath the paint. Let's get to the photos for a bit.
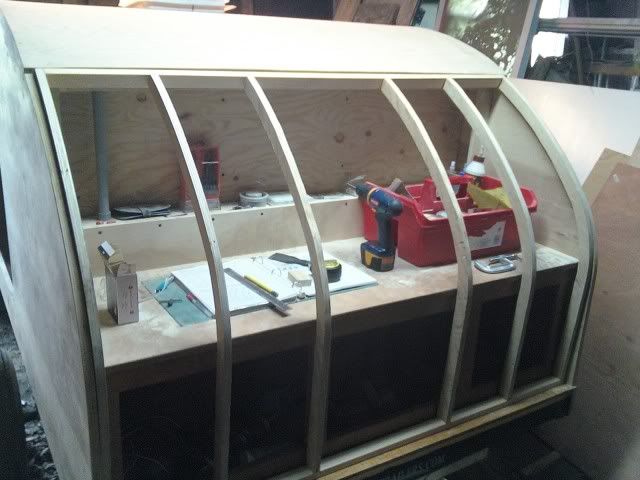
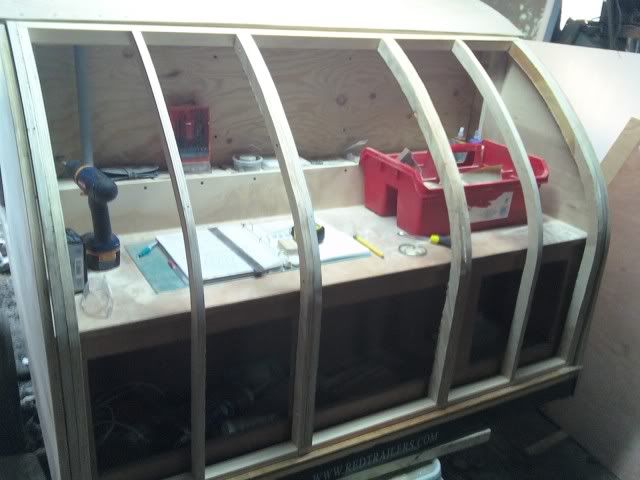
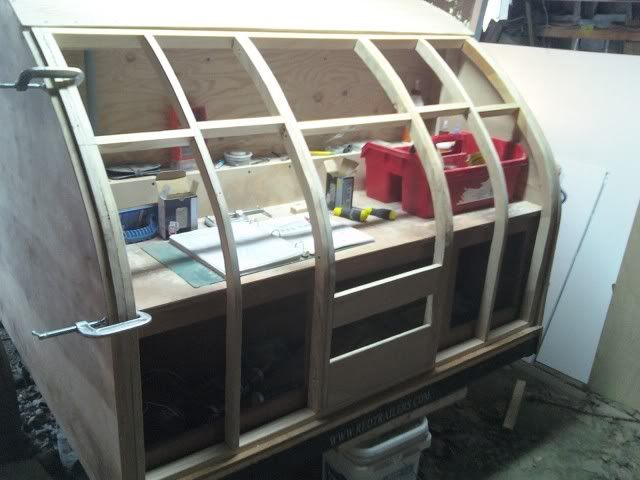
The completed hatch door frame
In the bottom left and right corners in the photo above, you see some extra framing for the taillights that I have on hand. I'll install those once the hatch is done.
The outer skin installed on the hatch
The outer skin of the hatch, like the rest of the roof, is made of 5.2mm red oak plywood. The bend here went smoothly with my batch of clamps and 2x4s placed horizontally.
So, this is what it's going to look like when it's attached
We've revisited the interior again while other stuff was drying or setting up, and I'd hung the two cabinet doors.
Cabinet doors installed
I also had a number of parts come in last week, including door handles and latches for the two side doors and the hatch door and the "hurricane" hinge for the hatch door. All the aforementioned were from Li'l Bear (http://www.lilbear.teardrops.net/index.html), an excellent source for teardrop parts and a great place to deal with. Below, the hatch is temporarily installed with the hurricane hinge.
Hatch installed temporarily with the "hurricane" hinge
The hinge worked flawlessly. There were several iterations of installing and removing in order to trim the bottom edge of the hatch for clearance for weatherstripping. The hinge itself is a marvel of design that brings the pivot point up above the surface of the wood, forcing water to run off along the sides of the roof instead of into the hinge area. I recommend it.
The final photo below for this post is one of the newly ordered fenders mocked up. These will be somewhat temporary, as I'd like to get larger and wider wheels and tires for trailer when I've finally recovered from buying everything else for this thing.
There's even more that's been completed, but I don't have photos yet, so that'll be next time. Like I'd said earlier, we've tested some paint for aesthetics, so that'll be part of the next update.
[g]
A blog documenting the building, re-building, travels and experiences of a DIY Teardrop camping trailer.
Sunday, May 17, 2009
Saturday, May 9, 2009
She's a Hatchback
We can obviously see that, like my first car, this thing is a hatchback. Unlike the Dodge Daytona though, this is made of wood. Below, we have the progress on the frame that began a couple days ago and ended today.

This is the standard frame, with six ribs.

This is the augmented frame, with double ribs installed alongside four existing ones. Built for Strength©

This is the completed frame, except for a few bits that will frame in the taillights
In the center, lower area of the hatch frame, you can see boards that will hang the license plate light and door latch/handle (upper and lower boards, respectively). We doubled up today. Tara worked on puttying seams and countersunk screws on the body and began some finishing sanding. That's her below.

For maximum difficulty, we're assembling the teardrop while it hangs off a wall while and we defy gravity
To finish this up, I need to grab some taillights and fabricate the frames for them, and then I'll skin this thing up.
[g]

This is the standard frame, with six ribs.

This is the augmented frame, with double ribs installed alongside four existing ones. Built for Strength©

This is the completed frame, except for a few bits that will frame in the taillights
In the center, lower area of the hatch frame, you can see boards that will hang the license plate light and door latch/handle (upper and lower boards, respectively). We doubled up today. Tara worked on puttying seams and countersunk screws on the body and began some finishing sanding. That's her below.

For maximum difficulty, we're assembling the teardrop while it hangs off a wall while and we defy gravity
To finish this up, I need to grab some taillights and fabricate the frames for them, and then I'll skin this thing up.
[g]
Friday, May 8, 2009
Ceiling Wiring and Skinning
In the five days since the last update, I've pulled the ceiling wiring for the lights and fan down to the electrical raceway and finished skinning the exterior, besides the hatch, which is a separate unit. More on that later.
As part of the ceiling wiring potion, I'd decided to add small frames in the ceiling around the light mounts in order to create a buffer from the EPS insulation and also give the light mounting screws something more to bite into than the 5.2mm plywood. Here's a few shots of that effort.
The photo below shows the first section of the outside skin being attached. The outside skin ended up being constructed of 5.2mm red oak plywood. 5.2mm is just shy of a 1/4".
The next section endures the most severe radius, so extra work with braces and cargo straps was necessary to keep things in place and assist with bending - especially when you do this by yourself.
Viewing from the galley end of the teardrop, we see the conduit installed that routes the ceiling wiring down to the electrical raceway, passing through the upper galley cabinet area.
It's made of a 3/4" radius PVC conduit with some fixtures on the ends to hold it in place nicely. With that in order, I could then skin the remainder of the roof, and the next two photos show the results.
These photos are from before the edges of the outside skin were trimmed down flush to the walls and galley horizontal spars. That's been done since.
As promised, I was going to discuss the hatch. That portion officially began a couple weeks ago when I cut the curved ribs, and today began the actual assembly. The outer frame is complete along with two internal ribs, but I don't have any photos on hand. I usually grab photos with my phone while I'm working and pull them down to my laptop via Bluetooth, but I just didn't get around to clicking any earlier this evening. I'll post them up next time along with any other progress.
[g]
Sunday, May 3, 2009
Several Good Days of Progress
It's the end of the weekend and, including Friday, there's been a flurry of activity. This includes finishing the headliner and some electrical work. The latter was all I worked on today, after taking a marathon, all afternoon parts trip to Home Depot and two different Radio Shacks and a mart that begins with a "K". I'll let photo captions say the rest.
The cut-out for the vent/fan
Rear and of the headliner screwed down now
Cut-outs for something...
More of the same cut-outs, which are for the item just below
12v aircraft style swiveling light
Here's two installed in the front area of the cabin
This was a test of the plywood on the front arc, the most severe radius on the teardrop. It passed
Tara can't wait, and is allegedly testing one of the lights that's temporarily hooked up
The mess up top. Four lights and fan connected together. Wire cleanup forthcoming
What's coming up soon is finishing up the ceiling wiring and skinning the outside. Soon, as in the next couple days.
[g]
Subscribe to:
Posts (Atom)


