Monday, December 8, 2014

Lighting Choices

Imagine yourself enclosed in a space that measures 5 x 8 feet around and 4 feet high. It sounds slightly inhospitable, but this is what you're working with inside the Generic Benroy camper. When put that way, confinement seems cozy. This means that lighting is all the more important.

I had used swiveling aircraft-style reading lights in my previous build. This light below is very similar, if not identical. I placed one of these near each corner in the headliner near the cabinets and two more near the front in the headliner.


 I'm also considering this light style and installing two, rather than four, lights. Here's a photo below from Amazon:


I'll have to think about this one. The latter lighting unit would decrease wiring and installation by half, as I would install them in the ceiling near the front and rear of the cabin, down the center. I'd prefer LEDs here, but perhaps I could convert them somehow.

And in an unrelated note, I've put the second coat of polyurethane on the topside of the headliner this evening. That's ready for carving the cutouts for the vent/fan and whatever lights I finally choose. That gives me a deadline.

[g]


Teardrop II Build: Headlinder Protection

I need to get a quick update in as the holidays fly by and suck up all the time. I've finished the headliner and have also applied a coat of polyurethane on the top surface. Yes, this area will be the inner surface of a sandwich involving polystyrene insulation and the outer skin, but you still want to get some kind of moisture protection on it.

Below, the sectional front curve is in place. It may not be a smooth single arc, but it's pretty in its own right.


The outside of the front headliner section, below. The double spars help secure this more easily and effectively.


Below, this topside of the headliner with the polyurethane applied.


The next step is another coat of polyurethane on the top and front outside of the headliner. It's not fun, but it'll do nothing but help in durability. Once that is done I'll work on cutouts for the fans and lighting prior to laying down the polystyrene insulation.

Here's to cold December nights working in the garage warming my hands on near the kerosene heater!

[g]


Wednesday, November 19, 2014

Teardrop II Build: Spars and Planks

I'm still working on the headliner, which also brought into play some fortification of a few roof spars. I had to slice into the next sheet of 4x8' 1/4" birch plywood as well. Below are two photos of the remaining spars being fortified with another 1x2" spar. I did an additional screw through the sides of the camper and then glued, screwed and clamped the two spars together in each case.


What we also see above is the next section of the headliner in place as well. That section is 9" tall, as all of these sections will be, approximately. Below, we see one of these sections on the bench. You may experience some trimming for fit.


A photo of the interior view is below. Sure, it's not one continuous contour, but that didn't come to bother me before. A bonus is that this could provide easier access for repairs or other duties, I suppose. Your back will be leaning up against this wall anyway on those chilly, raining nights while you read or even fire up a movie on a laptop. This also supports the idea of the double spar at the top of the straight vertical section of the wall. Two more sections left.


Zombi the shop cat inspects all details. If I waste any more plywood, I'm told I will be fired.


Next up: those last two sections and a splash of polyurethane over the top. The insulation will follow that, most likely after marking out the lighting options. I'll have to cut a square into the ceiling for the fan as well. The kerosene heater has been working overtime this week, as we haven't seen temperatures rise above 30 degrees, so keeping toasty is tough, but I love getting this work time in.

[g]

Sunday, November 16, 2014

Teardrop II Build: More Headliner

The work on the interior headliner, or wall/ceiling, continued this weekend. Somehow I ended up with only several hours of building time logged, but I need to save something for the dead of Winter, right? The same Winter that will sap my energy due to the too-short days and gnawing cold? Yeah, that winter.

I'll beat Winter, however. I've got the heater running in the workshop, and here's the diagram with the front section of the interior wall.


The measurement of 25 5/8" tall may vary, depending on your exact fitment, but that lines up with the top of the 3rd spar up from the floor. Note that there is a spar sitting against the floor at the right in the diagram above. It's 58 1/2" wide, which is consistent with the width of the interior overall.

The next three photos show the front wall section in place.


There will be double spars for those visible in the photo immediately above. Beginning with the top of the interior wall, that and the next two spars above will be doubled-up. Not only will this provide a mounting surface for the three remaining panels, but will also provide additional strength at the front of the fuselage. Aerodynamic balance should also remain... wait, I just forgot I wasn't building an aircraft.

The original "generic Benroy" plans didn't call for this. Not that it's necessary, since I've dragged the first Teardrop across the continent of the United States and back and it held up like a brick shithouse, and it can only help durability with only a slight weight increase.

This was also time to install the last cabin spar, which sits above the cabin cabinet face and headliner. In the diagram at the top of this post, it is the blue-colored spar near the rear of the cabin ceiling. Don't mistake it for the double spar at the left, rear-most portion of the headliner in the diagram. I had to take this spar to the table saw and trim off an 1/8 of an inch since my cabinet assembly sits a little high, apparently. Minor adjustments are the spice of life.


Teardrop II life for the next week will involve building up those other double spars at the front. I've already started on the spar on top of the front wall. I picked up more polyurethane, a sheet of 4 x 8' birch plywood in 1/4" width and a sheet of Polyshield closed-cell 1/2 inch insulation for the work of the immediate future. Once the headliner wall is complete, I'll lay some poly down on the outside, then plan for fixtures like lighting, perhaps. Before I drop the Polyshield down, I'll have to mark cutouts for lighting and a fan.

One of my next posts may be a look at lighting options. I like the "airplane" style lights, which feature a swivel head for adjustable focus. I installed these in the first Teardrop, and they were great.

The next week will likely see the closing of the Teardrop roof from the interior perspective, and then some of the grind. The grind will be sanding, doing polyurethane and tweaking bits of this and that. Cheers though, looking forward to it, as always.

[g]


Tuesday, November 11, 2014

Teardrop II Build: Headliner middle section

I was incredibly tired tonight. It was a shuffling feet, dense-minded night, but I wanted to get something done. I grabbed the second 4x8' sheet of 1/4" birch plywood and sheared it down to a 58 1/2" chunk for more headliner parts. This part is the middle top, where the fan assembly will ultimately go. It was also describe the first bending section of the front of the Teardrop, although in straight lines.

Below, the notes on the "piece 2" measurements are crudely laid out.


This piece is 58 1/2" wide, of course, by 15 7/16" long. The remainder of the sheet of plywood will go next towards the front-facing flat section. I'll have to snag another sheet just to complete the other two angle sections. Not ideal, but I think I wasted more plywood for the last build due to breakage.

This is the next section below, in place. Screwed and glued, including the left-to-right sections of spars for the fan housing area.


This is the interior view. The seam fell together well, but that's what comes from careful measurement and cutting.


The trusty sandcat. My father gave me this, and it's most useful to trim down pieces of wood that are a bit too long, like the headliner section installed tonight. I took off a 16th of an inch in short time.


The galley that's built so far serves as a blogging platform as well. WiFi is an amazing invention, we reap the rewards every day while taking it for granted already. Below is a testament to technology.


The next step, as I've said before, is building the lower front section of the interior headliner. After the other few sections, we'll be looking at insulation on top of the headliner and move on to one of many other tasks. The headliner will have to be sanded and have polyurethane applied, and the galley awaits finishing as well as interior details. There's plenty to do this winter.

[g]


Sunday, November 9, 2014

Teardrop II Build: Headliner

I had a couple sheets of 4x8' 1/4" birch plywood in the stash for the cabin headliner construction. Tonight, I acted on that.

The plans, based on the Generic Benroy plans (here on my Google drive and also found somewhere on this site) call for a one-piece headliner. Depending on materials available, this can be a difficult bend to undertake on the front curve of the teardrop interior. The last time, I built this in sections around that curve, and that's how I'm doing it this time.


Below are my notes on the first piece of the headliner. It's 58 1/2" wide by 39 3/4" long. It creates a headliner section that runs from the galley upper cabinet face to the middle of the double spar area in the ceiling towards the rear. Some of this is limitations in 4x8' plywood - you just can't quite reach to the forward double spar with that dimension.


This is the 4x8 sheet of 1/4" birch plywood in all its glory. Here I have my rig set up to cut it accurately with a circular saw for one of the dimensional cuts.


The fit was very good. The rear section of the sheet, closest to the camera, will bend down to meet the top of the vertical cabinet wall that is predominant in the photo.


Prior to gluing and screwing the headliner into the spars, seen moving away from us.


The ceiling section has been secured with Gorilla Glue and screws to the two spars seen above. You need to lay out lines to determine the position of the spar that's midway between the exposed edge of the headliner and the cabinet face, below. I put a lamp above to see the voids on either side of the "hidden" spar. 


This is the workshop/garage from the basement door. It's just a little cozy. A kerosene heater provides warmth for the winter build.


I now have to cut two spars into shape to tamp down the headliner. Those will be above the cabin cabinet face and the galley upper cabinet face. I'll have to grab my chop saw, which has been on loan. The next step is simply building more headliner, which will come in four more sections. It seems to have been slow progress lately, but all the work was wrapped in detail grinding like polyurethane coats and sanding. Progress will move more quickly now, even though it costs me late nights.

[g]

Saturday, November 8, 2014

Galley and floor brace

It's been a long week at work, but I snagged some kerosene for the workshop heater and put some time in this evening on a few details. Progress looks slow at this point, but I'm more concerned about the fine details this time.

Below is a photo of the center brace for the floor. Due to the nature of the trailer frame, there is a void of support dead-center. This 2x4, trimmed to accomodate the frame rails, will be inserted in this position. Being that it's made of wood, you should coat it with roofing tar. It's currently setting and dripping on my garage floor at the moment. I have already checked it for fit... sorta. It will take some time until it is dry enough to handle.


I've also applied the third coat of high-build polyurethane to the interior of the galley cabinet areas. It required about three weeks of polyurethane-encrusted hair on my head for the last time, but this attempt was a bit cleaner. This should be the final coat, and I can move forward knowing that doors and drawers can go in now.


I've had quite a bit of wine, it's 2:00 AM, and I've spent the last several hours working on the Teardrop II, so this is it for the night. The next item on the roadmap is building the interior headliner, of which I have the material to do so. It will involve some straight cuts of 4x8' plywood, and will mark a significant step in the process. I'm looking forward to it.

[g]


Thursday, October 23, 2014

Teardrop II Has Begun

As I'd mentioned in the previous blog post, the original Teardrop met with some tough times. You just can't store an RV or camper under a tarp and expect things to just go fine, especially through a snowy winter.

The snow wasn't the problem either, it's all straight-up moisture. Tarps will leak. As sure as the pope shitting in the woods, they will leak. Yet the problem is that they could stand to be less suffocating, actually. This sounds counter-intuitive, but there is solid reasoning here. All that moisture that does get underneath the tarp, and that includes underneath the camper, will begin to form its own atmosphere. Maybe we should call it more of a terrarium. Just like a dense, moist forest, nature too will render objects within to the earth again.

Except the metal parts, I saved those.

Here then is the photographic documentary of Teardrop II up to this point in time. We should just call this the Teardrop II restart megapost.


Stripped Frame

All wood and wiring remnants of the original teardrop have been removed. I then cleaned up any surface rust and blasted some Rustoleum on the frame. It really was pretty clean to start with.


Floor Construction

It's 1/2 inch plywood with some 1x2 inch pieces to create structure and space for the insulation, seen in the third photo. The second to last photo in this section is the 5x8 foot floor, face up, with insulation and roofing tar on the underside. The plastic is keeping it from gluing itself to the frame. The last photo shows the floor bolted to the frame.


Wall Construction

This section starts with a photo of the walls, made of 3/4 inch birch plywood, and the cut-out doors in the background. Tara is forefront in the second photo for scale.


Below, this is a mock-up of the sides, to allow for measurements and fitment purposes.


The walls go up, but then come back down for measurements and cut-outs we see below. The areas that are notched compensate for bolt heads and other areas that aren't flush with the sides of the frame. We also add roofing tar to the bottom areas of the inside of the walls, since they will be pressed against the trailer frame, but not truly sealed against weather.


Cabinet Building

Again, we build with 3/4 inch birch plywood. This is a fairly time consuming process, but includes both the galley and interior cabinets in one combined hunk of boards connected at (hopefully) neat right angles.


This is the cabin cabinet face below. The opening in the center is big enough to fit a modest laptop within, which allows for rainy night movie watching opportunities.


Below, we see the galley cabinet face in the foreground. It is attached to the counter-top, which is on the bottom here, and also the bulkhead, which is a solid piece. The cabin cabinet assembly is in the background. It includes the face and the bottom and rear portion of the cabinet.


The portion below is the galley assembly, with the top of the counter to the left. The backboard (of sorts) is being placed, happening at the top of the photo. The next photo is the same scenario, with the vertical sides of the sliding door portion of the upper galley going on.


Like voodoo, the two cabinet portions are assembled together. You screw and glue this together and let it dry like the desert, and then begin the install, covered in the next section.


Cabinet Assembly Install

The cabinet build is a lofty adventure in itself, but this step is technically challenging. You need to get the fit correct, otherwise you have a large cabinet assembly that's diving into the floor or slanted one direction or another. It will also affect later parts of the build in terms of the ceiling liner and roof.

Below, one wall has been installed, after having been mocked up, then removed. Now that it's permanently attached, we get the cabinet assembly in place and pencil mark the outline of the sides of the cabinet on the attached wall. The cabinet assembly must be moved away from the wall to drill pilot holes from the inside-out. The key to that is that you can then countersink your holes from the outside for the many screws. You do this with the other wall as well, so you'll be attaching that wall permanently at this time as well.

The photos with the Home Depot bucket propping the assembly up are of this stage of tracing the cabinet profile.


Below, both walls are attached and the cabinet assembly is propped in place.


The cabinet has been removed in the below photos. You can see the tracings of the cabinet on the teardrop walls.


This photo shows the countersinks on the outside surface of the wall. At this point, both inner walls have been traced for cabinet fitting, and the right side of the cabinet assembly can now be screwed and glued into the wall.


The cabinet assembly has now been permanently attached to both walls. There's no turning back now! Hopefully everything lines up at this point, which it did for us.


Spar Installation

This is a favorite part of a build for me, strangely enough. Perhaps it has something to do with neat uniformity of these little 1x2 inch horizontal sticks of pine. It's also satisfying that it adds more visual evidence of the final shape.


New Workshop!

Teardrop II is now in my garage for additional winter work. It was slightly harrowing pulling it home without tail or marker lights. I tried, but I had some wiring incompatibility with the light kit, adapter and hookup on my truck. I had a following vehicle to act as my tail lights, so there was no calamity. Hey, I had a license plate on it with a valid registration, so I was at 90%.

The garage has a kerosene heater and a boombox, so we should be able to wait out the winter with some productivity.


There is just simply put a lot of sanding these days. Progress seems slow, but you have to sand and polyurethane all these parts.


I'm building drawers for the galley for this teardrop. You'll see them in some of the photos below, along with Zombi the cat doing some QA.


I'm paying more attention to all the details for this build. Seams, extra coats of poly, a little bit of extra sanding. It's the full treatment.


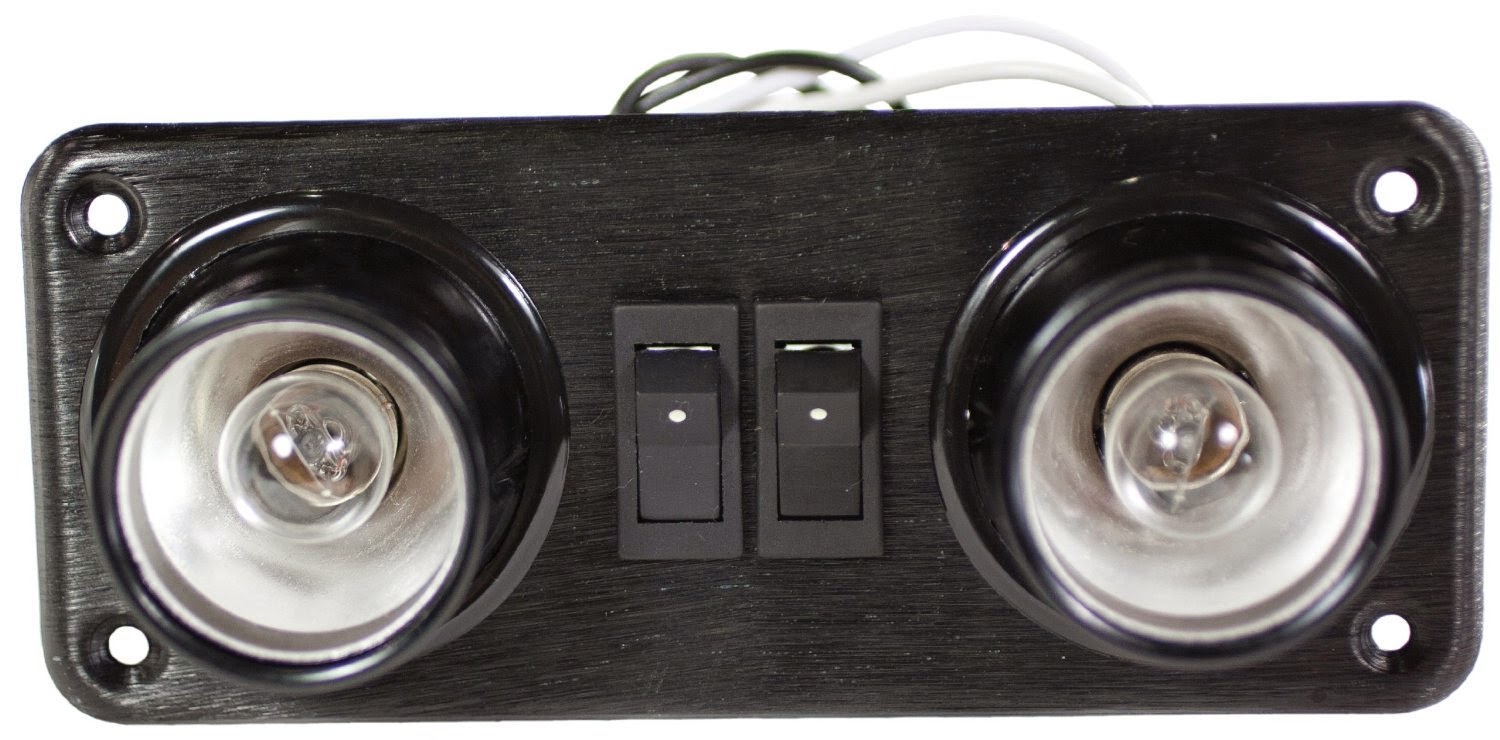
Below, this is the electrical raceway going into the cabin. This will house wiring components as well as openings for receptacles, both inside and out. I'll build in a shore power outlet that enters into this raceway in the future.


The next two photos are of the raceway door in the cabin. I've installed two wiring boxes to house a 12-volt outlet and a 120 household receptacle. It's hinged for accessibility, but you shouldn't expect too much fiddling with this area.


I have to bring the megapost to an end. That's all the photos to date, so now all updates will be much more current, and much more concise. I actually have additional work that's not documented yet, so I'll snap some shots and upload soon.

[g]